(Last updated on January 30th, 2023)
Learning how to change a bike tire can save you from being stranded while out on a ride, but it can also save you money! Whether you’re reading this article because you just got a flat tire or you’re planning to install new tires, it’s always a good idea to develop this basic skill.
In this article, I’ll walk you through the steps of changing a bike tire and installing the new inner tube.
Situations When You’ll Have to Change a Tire
The two most common situations where you have to change a bike tire are flat tires and switching out an old, worn tire for a new one. Remember that tires are not typically damaged when you get a puncture it’s the innertube that needs repair or replacing.
When a tire is damaged or worn out to the point of needing to be replaced, you’ll need to know how to change out the tire. Aged tires (several years old) dry out and the rubber gets crusty, crumbly, and starts to fall apart. The decreased ride performance can make you more prone to flats, so it’s time to install a fresh tire.
If you bike frequently, sooner or later the tread on your tires will wear down, losing grip and the protection around the innertube. Check on your tires every couple of weeks to monitor tire health. When it’s time to swap over to a new set, you’ll be ready to make the change.
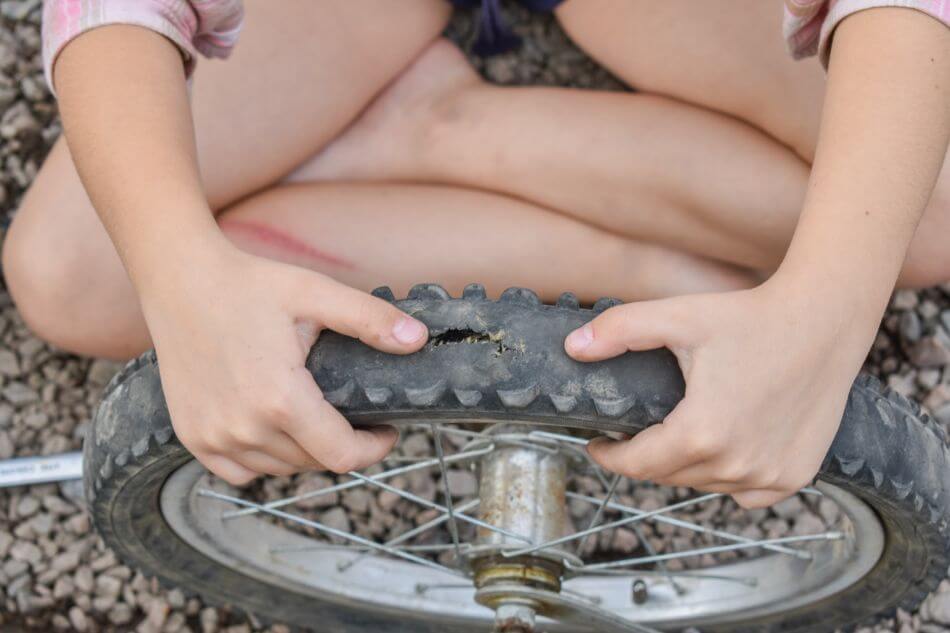
Sometimes tire damage can be a sudden rather than a gradual process. Like car tires that can get gashes caused by metal nails or debris on the road, bike tires can be damaged while riding. A tire beyond the point of repair is a tire that has a large gash (4mm or more) or one that is starting to split at the sidewalls. Thorns and small pieces of glass just poke holes in the tire, so simply removing them solves the problem.
Required Tools to Change a Tire
The necessary tools for changing a tire are:
- Two tire levers
- Bicycle pump
Tire levers may look like simple pieces of plastic, but they are the key to making this process as painless as possible. You can pick up tire levers for cheap at any bike shop. Some fancy bike multitools come with a tire lever or two, but I recommend having a dedicated set for some serious leverage. For tires that are tightly fit around the rim, an extra tire lever or two can come in handy.
Other Materials You’ll Need
The materials you’ll need depend on the specific job you are trying to do. If you want to repair the inner tube, you’ll need a patch kit. Otherwise, have your new innertube on hand. You’ll need a new tire if your old one is too worn or damaged. Make sure you’ve got the ride size and valve type; even professional bike mechanics slip up on this part every once in a while.
Part 1: Taking the Wheel Off

Place Your Bike in a Stationary Position to Be Worked On
You can either put your bike into a bike work stand (if you have one) or flip it upside down to rest on its handlebars and seat. This keeps your bike stable and balanced so it won’t fall over when you remove and reinstall the wheel.
Shift the Chain Into the Smallest Cog When Removing the Rear Wheel
This trick makes it easier to take out and put back the rear wheel while working on it. A pro move that will make your life easier.
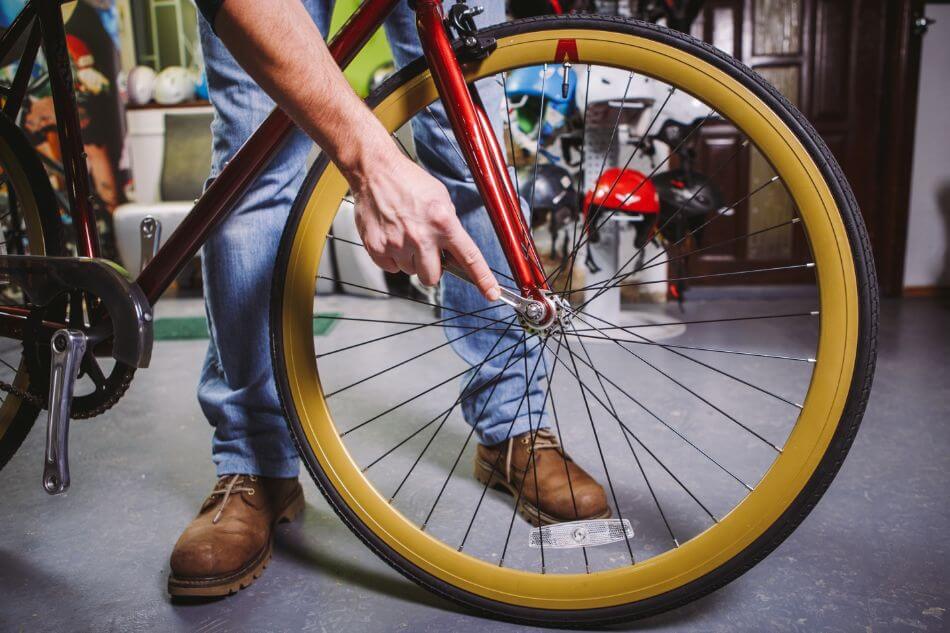
Pull Open and Remove the Quick Release Skewer
Find the quick release skewer in the middle of the wheel and pull on the small handle. Turn it counterclockwise until the skewer separates from the nut on the other side and can be extracted. Reassemble the quick release skewer so you don’t lose small parts, and put it aside.
If You Don’t Have a Quick Release Skewer, Use a Wrench to Loosen the Axle Nuts
More often than not, a 15mm wrench is the correct size for the job. Unscrew the nuts enough to get the wheel off but feel free to keep them on the end of the axle so you don’t lose them
Part 2: Removing the Tube and Tire
Make Sure the Inner Tube Is Completely Deflated
If there is a dust cap on the air valve, remove it and follow the appropriate steps to release all the air, depending on your valve type
- For the thicker, stubbier Schrader valves, use a small, pointed object to press down the tiny pin inside the valve. You can use the end of a tire lever, wrench, or small Allen key.
- For the skinny Presta valves with a twistable valve cap at the top, unscrew the cap and press it down to release the air
Hook the Rounded End of the Tire Lever Under One Side of the Tire
Choose the side of the tire you want to release. Then insert the rounded end of the tire lever under the outer edge of the tire. Pull down on the lever towards the center of the wheel to pop the tire out of the rim. Using the hook end of the tire lever, attach the lever to a spoke to keep it in place.
- The inner lip of a tire is called a “bead”.
- Make sure you only hook the bead on the one side you are working from. Be careful not to hook the inner tube or other bead.
- If you’re going to reuse the innertube, be gentle so you don’t pinch the tube with the tire lever.
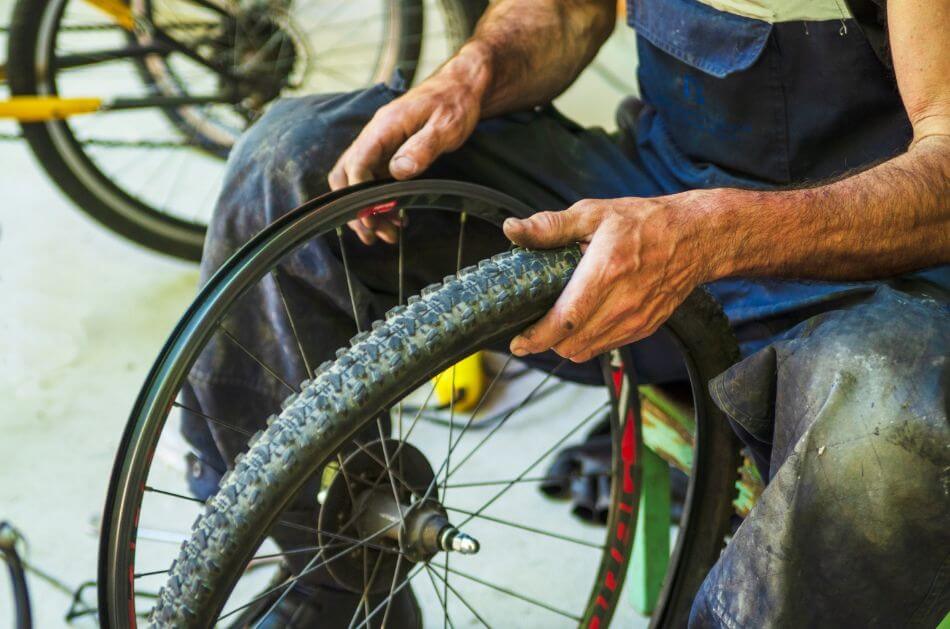
Slide the Other Tire Lever Along the Circumference of the Rim to Release One Side of the Tire
Use the second tire lever to unhook more of the tire next to the first lever. This should loosen up the tire and allow you to slide the second lever along the rim, unhooking the tire as you go. Work around the rim until that side’s tire bead is off the rim.
- Don’t take the whole tire off the rim unless you are replacing the tire (rather than just the innertube).
- If the tire is really tight to the rim, you may need to release additional sections of the tire before you can easily slide the lever to release the entire tire.
- You can also use a third lever while the other two are hooked onto spokes.
Take the Inner Tube Out of the Tire
Reach into the tire and grab the inner tube to remove it from the tire. At the valve, push the tire to one side and push the valve out through the hole in the rim.
Check the Inside of the Tire for Damage and Debris
With the inner tube removed, now’s your chance to visually inspect the tire for the cause of the flat tire. Then carefully run your fingers along the inside of the tire, feeling for thorns or pieces of glass. Remove any debris.
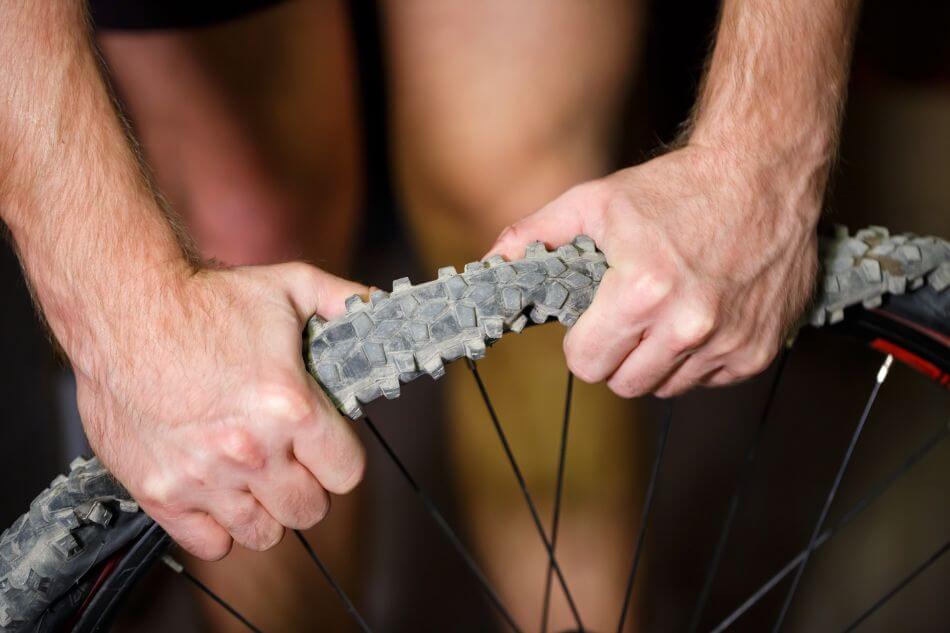
At this step, if you are swapping an old tire for a new one, simply pull the entire old tire off the rim. Then, press the new tire onto the rim, leaving one side hanging off the rim. That hanging side is where you’ll insert the innertube.
Part 3: Installing a New Inner Tube
Remove the Tube’s Dust Cap and Lock Ring
Whether you’re installing a patched or new tube, make sure you take off the dust cap and lock ring (if it has one) so it fits through the valve hole on the rim.
Inflate the Tube With a Couple of Pumps
Put some air into the tube so it untwists and is easier to install. Two or three pumps from the bike pump should do it.

Install the Tube Into the Tire
Start with putting the valve through the hole in the rim and gradually press the tube into the tire. If it’s a tight fit, release some air from the tube.
Part 4: Putting the Tire Back On
Set the Tire Back Into the Rim
This is called “seating the bead” to get the tire back into the rim and ready to be pumped up. Put your palms on the tire and use your thumbs (no tools!) to push the bead back into the rim.
Inflate the Tire
Make sure the lock ring is on at this point if you have one. Pump up the tire to the appropriate pressure as listed on the tire’s sidewall. Start slowly as the innertube may need to untwist fully.
Reinstall the Wheel
Put the wheel back on by reversing the process you followed to remove it, either with a quick-release skewer or axle nuts. Give the wheel a spin to double-check the installation, and you’re ready to ride!
Read more:
Frequently Asked Questions
It’s definitely possible to quickly and easily change your bike tire at home. You’ll need a bike pump, two tire levers, and the part you are replacing (innertube or tire). Follow the guide in this article to change the tire step by step.
Changing a bike tire for the first time can seem overwhelming, but being patient and moving in steps will ensure success! Practice makes perfect, so the more you get used to changing bike tires and tubes, the faster you’ll be when you have to fix a flat. It’s often the first skill cyclists learn, so you’re not alone in your learning process.
You’ll need a bicycle pump and two tire levers. The tire levers help you pry loose the bead of the tire so you can access the innertube or decide to remove the entire tire. You can deflate inner tubes without any tools, but getting air into the tube during reinstallation requires a bike pump.
If you are learning how to change a bike tire, you can expect the process to last around 20 minutes. You’ll get speedier every time you change a tire; seasoned mechanics and get the repair done in around 7 minutes.
Still unsure about how to change a tire? Have a question we didn’t answer? Feel free to let us know!

Jeffrey Brown is a writer, editor, and professional bike mechanic with over 7 years of experience working in full-service and community-based bike shops. As a bicycle educator, he has supported youth programs across the US that teach bike mechanics and life skills to prepare the next generation of cyclists.
Jeffrey began his professional mechanic career at his university bike co-op, so he recognizes the grassroots power of the cycling community. Initially self-trained as a mechanic, his subsequent positions as manager and lead educator gave him official training. He has won various awards and grants for his role as a bicycle and environmental advocate.