(Last updated on January 31st, 2023)
Whether you are putting together a new bike or upgrading your pedals, knowing how to remove bike pedals is an important skill. This guide helps you get it right the first time, so you can spend more time riding and less time fussing around with tools. Explore these helpful tips and tricks that make removing your pedals a stress-free process.
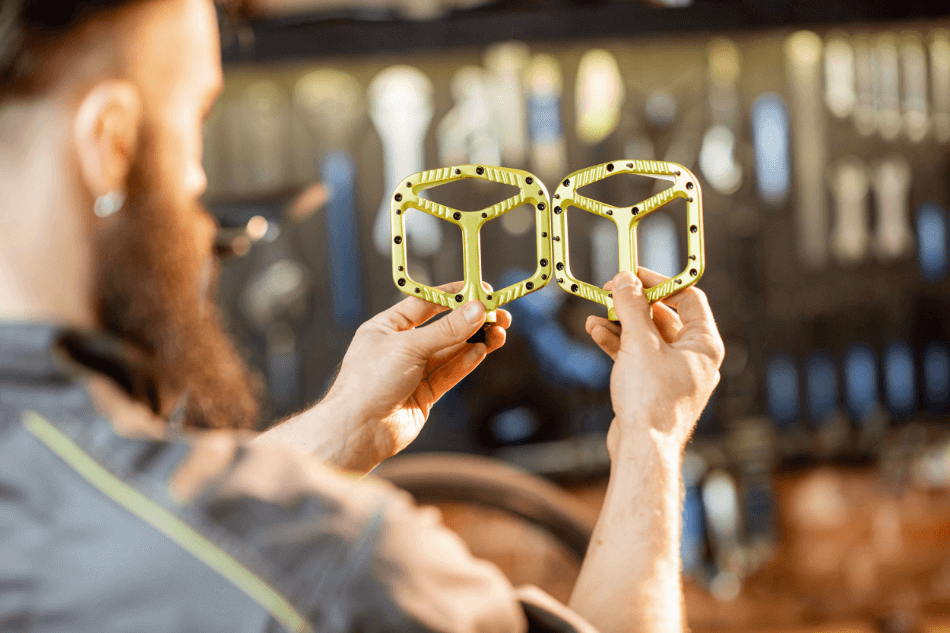
What Tools Do I Need?
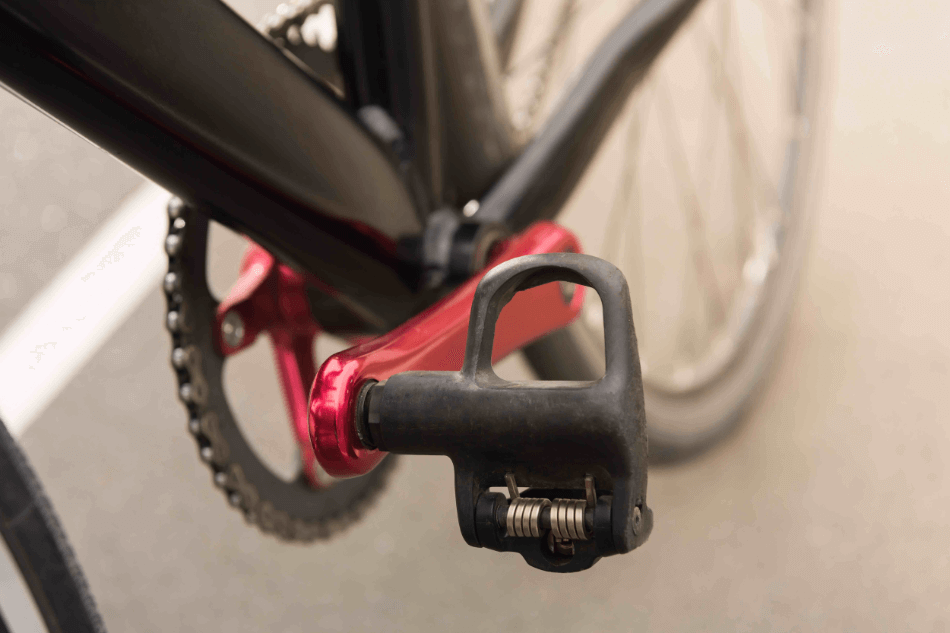
Removing the pedals is one of the simplest jobs on a bike, but it will require a tool. Most pedals are installed and removed using a 15mm spanner or an 8mm Allen key. To see what you need for your pedals, take a look at the spindle between the pedal body and crank arm.
If the spindle has flat sides, you’ll be able to slide a 15mm spanner onto those groves to remove the pedal.
The jaws of an adjustable wrench are probably too large to fit between the crank arm and pedal where the spindle is. Regardless, you’ll want a dedicated 15mm wrench to achieve a snug fit with the spindle and apply sufficient force— adjustable wrenches tend to slip off under heavy strain.
If the spindle is rounded, look at the end of the spindle for a hexagonal socket and you can use an 8mm Allen (hex) key. Some pedals can be removed with both tools.

Left vs. Right Pedals
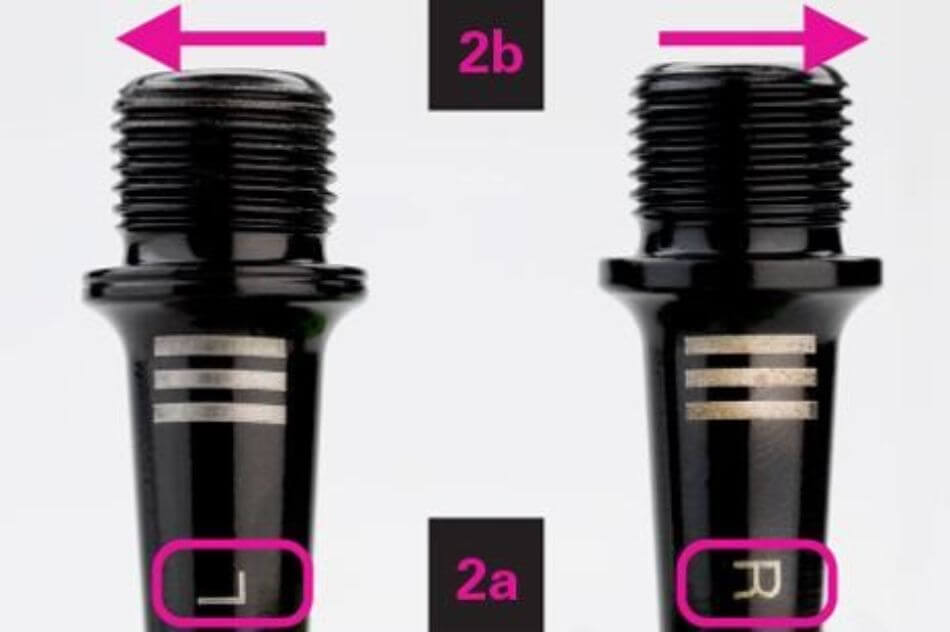
It might seem simple, but the differences between left and right pedals can easily throw people for a loop. The left and right pedals have different thread directions, so it’s important to install them on the appropriate side of the bike.
The right pedal goes on the side with the drivetrain and is standard-threaded. This means the pedal is tightened onto the crank by turning clockwise and loosened going anti-clockwise (think: righty tighty, lefty loosey).
The left pedal is the funky one. These non-drive-side pedals are reverse-threaded and are installed by turning anti-clockwise and removed in the clockwise direction. I like to remember this rule this way: just like left-handed people are often the odd ones out, so too are left pedals— they turn in reverse! As a lefty myself, I love this useful memory trick.
Typically, pedals are labeled with an R or L somewhere on the spindle to help you out. If it’s not etched onto the end of the spindle, it may be stamped onto the spindle grooves or pedal body.
How to Remove Bike Pedals
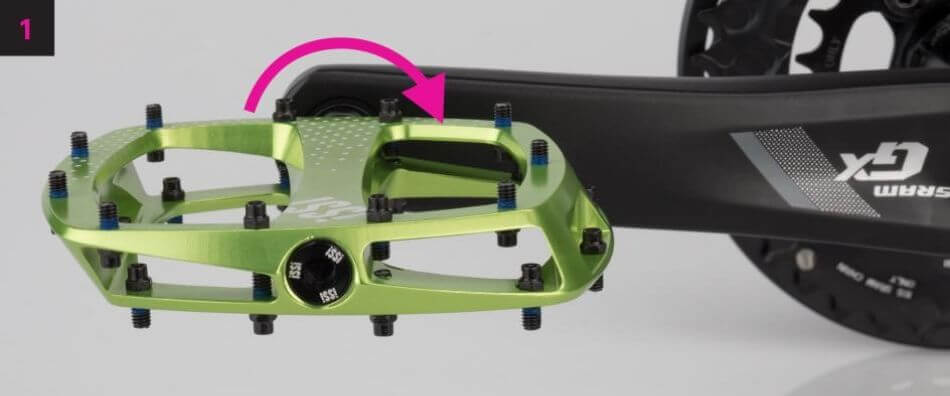
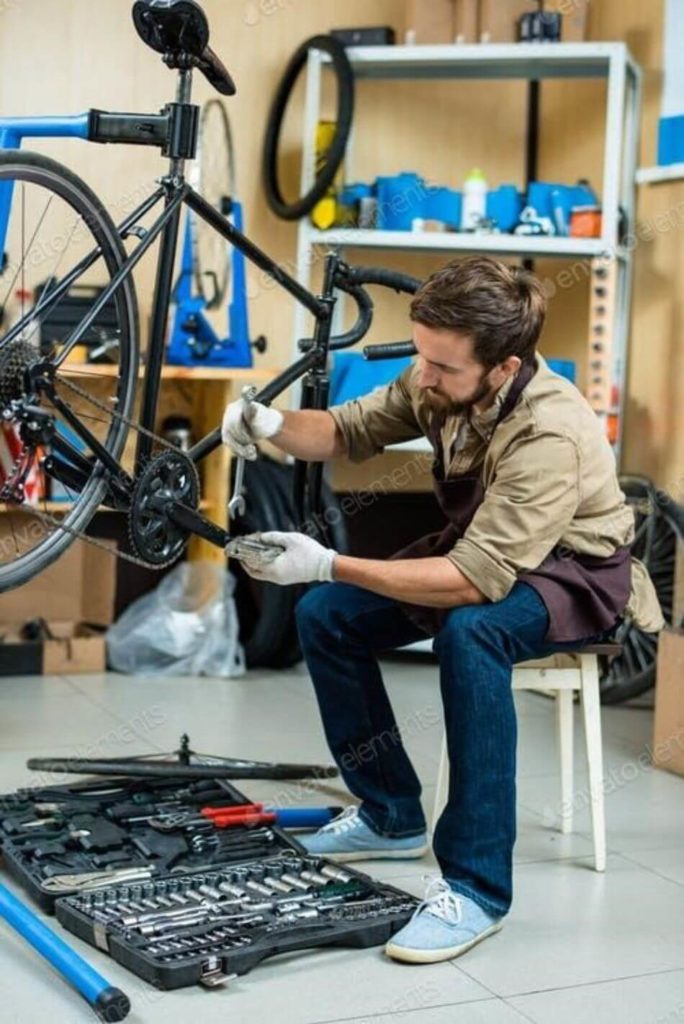
- Place your bike into a repair stand or lean it against a wall for a sturdy workplace. You’ll be using a wrench near the front chainring, so it’s best to shift the chain to the largest chainring. This reduces the possibility of an injury in case your hand slips.
- Start with the right (drive-side) pedal and slide the 15mm wrench onto the spindle flats.
- Position the wrench so that the angle between in and the crank arm is 90° or less— this will allow you to gain more leverage. Pedals can be stubborn to remove due to over-tightening during installation or seizing over time.
- Grasp the left (non-drive-side) crank and hold it steady so neither crank turns. This way you can focus on loosening the right pedal. Turn the pedal wrench counter-clockwise to remove the right pedal and be prepared to give it some serious elbow grease. Tip: be careful the wrench doesn’t slip off or your hand doesn’t suddenly fly toward the chainrings when the pedal finally comes free.
- Once the right pedal is loose, you can turn the spindle with your fingers to completely remove the pedal from the crank. Pedal wrenches are long and can be unwieldy, so users feel free to use your hands at this step. If the pedal is stuck on there, though, you’ll need to continue with the wrench.
- Repeat the same process on the left (non-drive-side) pedal.
- Grab the right crank while you turn the pedal wrench clockwise to remove the left pedal (remember: left pedals are reverse-threaded!).
If you are using an Allen (hex) key:
- Insert the 8mm hex key into the back side of the spindle, choosing an angle of the hex key that gives you a solid mechanical advantage. Position the hex key so that you can apply plenty of force downward or strongly pull upwards. A hex key that points straight up or down will be difficult to get a good angle on.
- To avoid getting confused, always look at the hex key from the point of view of the pedals. The hex key engages with the spindle from the rear, but the thread directions of the pedals are still the same. For example, when working on the right pedal, stand on the right side of the bike and turn the hex key counter-clockwise to remove the pedal.
- Tip: Make sure you are using the standard end of a quality hex key. Some hex keys have a rounded hexagonal tip in addition to the normal hexagonal end, but the rounded tips can strip the inside of a hex bolt. Pedal removal can sometimes require a lot of force, so make sure your hex key has sharp angles for the best result.
You May Also Like:
Stubborn Pedals That Won’t Come Loose?
Bike pedals tend to seize to the crank arm if they have been there for a long time or don’t have sufficient grease. While pedal wrenches are specially built with a long handle for better leverage, sometimes that isn’t enough.
For tough pedals, many bike shops use a “breaker bar”. These tools are thick metal tubes that slide over the wrench handle, effectively lengthening the handle and providing much more torque. In a pinch, you can try hitting the end of your pedal wrench with a rubber mallet for some extra zing to bust the pedal free. During all of this, though, be careful and avoid smashing your hands into the sharp front chainrings.
How to Install Bike Pedals
Distinguish between the left and right pedals using the “L” and “R” markings on or near the spindle. Another way to identify pedals is by looking at the slope of the threads. Left pedals have threads that slant upward to the left and right pedals have threads which slope upward to the right.
Ensure that the threads on each pedal are regular rather than being stripped or damaged. Installing pedals with damaged threads can harm the threads inside the crank arm, making for a much more involved and expensive repair.
1. Apply a liberal amount of bike grease to the threads of each of the pedals. The fresh grease will prevent the pedal from seizing to the crank.
2. Begin to thread the pedals onto the crank using your fingers to turn the spindle. Remember that right pedals are standard-threaded and left pedals are reverse-threaded. If the pedal resists, it may mean you are installing the pedal at an angle that can damage the threads. Take it out and start again.
3. Tighten the pedal using a wrench or hex key depending on your type of pedal. No need to overdo it, but the pedal should be very snug to the crank arm. The grease applied earlier will make any future pedal removals a bit easier.
Frequently Asked Questions
Most pedals can be removed with a 15mm wrench. There are bike-specific pedal wrenches with long rubber-coated handles for better leverage, but any strong 15mm spanner should work. Many adjustable wrenches won’t fit onto the pedal spindle due to their large jaws. Some pedals can be removed with an 8mm Allen (hex) key.
Bike pedals often require a bit of elbow grease to be loosened from the crank arm. Make sure the wrench or hex key is positioned in a way that gives you sufficient mechanical advantage— that is, a good angle to turn the tool. Some people use a breaker bar or rubber mallet to add a bit of extra force to the pedal wrench, just be careful with your knuckles near the sharp chainring teeth when the pedal eventually comes free.
Pedal wrenches are specially designed for bikes, but a standard 15mm spanner should do the trick. You’ll have to make sure the wrench fits in the relatively skinny gap between the crank arm and pedal body where the spindle flats are.

Jeffrey Brown is a writer, editor, and professional bike mechanic with over 7 years of experience working in full-service and community-based bike shops. As a bicycle educator, he has supported youth programs across the US that teach bike mechanics and life skills to prepare the next generation of cyclists.
Jeffrey began his professional mechanic career at his university bike co-op, so he recognizes the grassroots power of the cycling community. Initially self-trained as a mechanic, his subsequent positions as manager and lead educator gave him official training. He has won various awards and grants for his role as a bicycle and environmental advocate.