(Last updated on February 27th, 2023)
Learning how to repair your bicycle is a crucial skill as a cyclist and developing this handy know-how is easier than you may think. This complete guide explains the most common bike repairs and how to fix them at home, saving you precious time and money. Understanding the basics helps you be more prepared and lets you reserve the big jobs for our friends over at the local bike shop.
I’ve put together a bike repair guide that’s jam-packed with tips and tricks so you can quickly fix your two-wheeler and get back to riding. Some repairs, however, require special tools or professional knowledge so you’ll have to visit the trusty mechanics at your local bike shop. But before you head out to the shop, follow the instructions below to complete some basic repairs.
Tips Before You Start
The Power of How-to Guides and Videos
I’m a huge proponent of DIY bicycle repair and have used online resources to get me out of a jam on countless occasions, even as a professional bike mechanic. There are so many different bikes out there that it can be difficult to know every little thing yourself on the positive side though, that means there’s probably someone that has experienced the same issue.
Even if you have never done any bicycle repair or maintenance, how-to articles and YouTube videos make it easy to understand what you need to do. The usefulness of seeing photos and video footage of someone doing a similar repair can’t be understated, letting you complete the repair at your own pace and pause, rewind, and rewatch if necessary.
Two of my favorite YouTube channels for bicycle repair tips are:
- Park Tool
- GCN
A Clean Bike Is a Healthy Bike
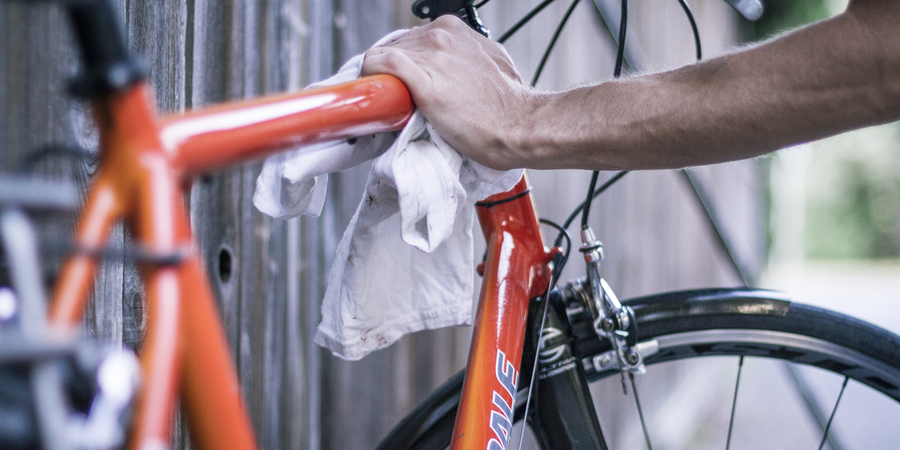
Keeping your bike in working order starts with minimizing dirt, grime, rust, and other pesky contaminants that can lead to larger issues down the road. Make a habit of periodically cleaning your bike, especially after muddy rides, so gunk doesn’t build up. Also, keep an eye on components across the entire bike and watch out for things like fraying cables, loose parts, or any rubbing this lets you stay a step ahead and solve minor repairs before they require a more difficult and expensive overhaul.
Don’t Be Afraid to Ask For Help
Since you’re reading this article, you’re already on the right track. Seeking information from others is the most important first step to completing a successful bike repair yourself. You might find, however, that you don’t have the necessary tools for the job or that the repair is a bit too daunting for your growing skillset.
Know your limits you can always bring your bike to your local shop and receive their professional opinion. Bike components are relatively forgiving and it’s hard to really mess them up on accident, but you’ll save yourself some headache and potentially a damaged part by leaving it to the pros.
New Bikes Require Closer Attention
If you’ve recently purchased a new bike, be vigilant about any mechanical problems in the first few uses. Minor issues like loose bolts or misalignments can arise after putting the bike together. For bikes bought from a shop, feel free to go back and explain the problem they’ll most likely fix it for free if you’ve ridden it under 20-50 miles.
Common Bike Chain Repairs
A bicycle chain transforms your pedal power into forward movement by connecting the front chainrings to the rear wheel, making it one of the most important parts of the bike. If there’s a problem with your chain, it’s highly likely that your bike is out of commission, but there are a few easy fixes.
Fixing a Dropped Chain
Every cyclist will drop a chain at some point, likely at no fault of their own. Check which end of the drivetrain the chain fell off— either the front chainring or rear cassette (or both). If it fell off the front chainring, give the chain some extra slack by pushing down the cage of the rear derailleur and gently slot the chain back on the large chainring.
If the chain slipped off the cassette, the chain may be wedged between the gears and either the frame or spokes. Pull the chain free and be careful not to scrape your hand as you yank the chain. Slot it back on a cog, then slowly turn the pedals and the chain will automatically realign itself to the correct gear. Changing gears without pedaling or while the chain is off the cogs can cause damage and should be avoided.
Chain Keeps Skipping
Chains can start skipping, especially during hard pedaling, for two reasons: (1) a stretched-out, worn chain or (2) incorrectly indexed derailleurs. Chains stretch over time and won’t interlock as well with the metal teeth on the gears, causing it to skip suddenly when put under load such as going up hills or pedaling while standing. The solution here is to buy a new chain at your local shop.
Skipping can also happen if your rear derailleur is misaligned or incorrectly indexed. Adjust the mechanism’s tension by tightening or loosening the barrel adjuster where the shifter cable meets the derailleur. Small turns make a difference, so make tiny adjustments to start and test the shifting, ensuring that one shift click corresponds to one gear change every time.
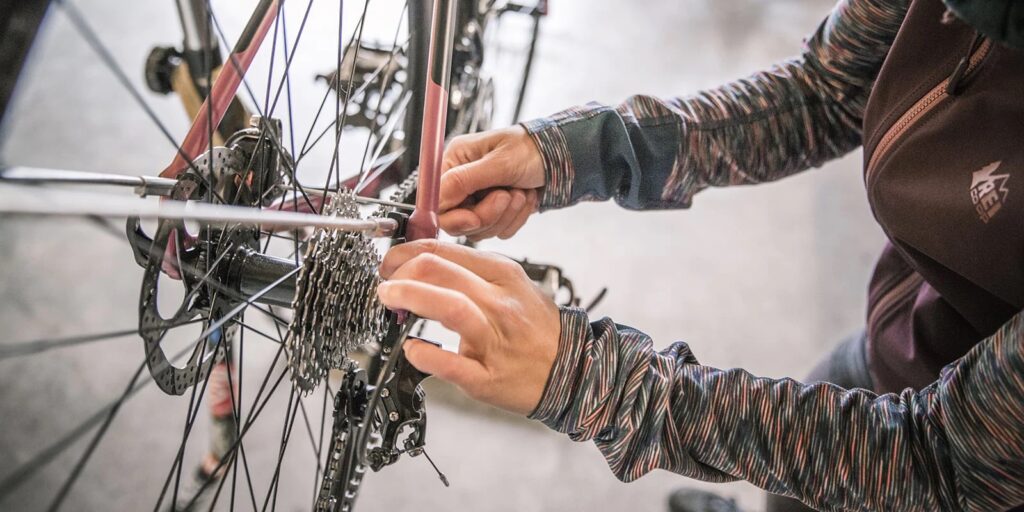
Fixing a Broken Chain
Snapping or breaking a chain doesn’t happen often but it will require a chain tool to fix it. Some bike multi-tools include a compact chain tool but can also be purchased separately. Chains are made of interconnecting inner and outer links. Examine your broken chain to determine which link is damaged and needs to be removed. Slot the chain tool onto the chain and turn the crank to push the pin out of the chain. Here you can install a ‘master link’ for an easier and quicker repair.
If you don’t have a master link, you’ll need to remove the complementary link on the other side of the chain (taking care to not push the pin all the way out) so the new ends match up. Use the chain tool to push the pin back in. The new link will be noticeably stiff but most chain tools feature an extra groove meant for simply loosening links rather than pushing out pins.
Degreasing and Cleaning a Dirty Chain
Easily degrease a chain with cleaning solvent and a rag (and a plastic-bristle brush if you want to really defeat dirt). First, move your chain into the smallest cog on the cassette then spray the solvent on the chain, cogs, and chainrings. The degreaser will loosen up the grime so you can wipe it off with a rag. Bonus points if you use a brush to get in between cogs and clean the teeth of gears and the rear derailleur’s jockey wheels. Make sure the chain is clean and dry, then apply lubricant.
Common Tire Repairs
Fixing a Flat
Fixing a flat tire is one of the best skills to learn since it’s a common repair and involves several steps necessary for other bike maintenance jobs. I’ll walk you through the entire process and highlight the bonus skills you complete.
Remove the wheel: Take the wheel off the bike by either undoing the axle bolts or pulling the quick-release lever. For rim-braked bikes, you may need to loosen the brakes so there’s enough room for the tire to squeeze through.
Unhook the tire: Use a tire lever to pry one side of the tire up and over the rim. Work around the entire circumference of the wheel so that the whole side of the tire is off the rim, exposing the tube inside.
Note: If you are replacing your tires, this is the moment to simply yank the entire tire off and swap it for a new one.
Replacing a tube: Take the tube out and determine the cause and location of the whole. You may want to inflate the tube in order to easily locate the hole which can make a hissing sound or release bubbles when underwater. Install a new tube and tuck it into the tire, starting with the valve.
Note: Carefully run your finger along the underside of the tire to check for and remove any thorns or glass that may have caused the puncture. Debris that remains in the tire can cause another flat immediately as you inflate the new tube.
Using a patch kit: If you don’t have a new tube, you can patch the hole with a patch kit. The kit includes vulcanizing fluid, patches, and sandpaper. Make sure the tube is completely deflated and rub the area around the patch with sandpaper to roughen the surface and prepare it for a better connection with the patch.
Apply a thin layer of vulcanizing fluid larger than the patch and wait for it to cure until it has a drier, tacky texture. Peel off the backing of the patch and press it down over the hole then insert the tube into the tire. Lastly, seat the tire again by pushing the tire back over the rim so the tire bead hooks into the lip of the rim.
Inflating the tires: Attach the pump head to the inner tube valve. In the case of Presta valves (the skinny, threaded ones), make sure to loosen that little nut at the top. Identify the recommended PSI amount for your tire this is always written or embossed somewhere along the sidewall of the tire. Start inflating the tire slowly and watch out for areas where the tire bead is not seated correctly. Do not exceed the suggested tire pressure or else you risk popping the tube and blowing out the tire.
Reinstall the wheel correctly: Put the wheel back on the bike and tighten the axle nut, thru-bolt, or quick-release skewer. Spin the wheel with your hand and ensure the rim doesn’t rub against the brake pads or frame. If the wheel is incorrectly aligned, undo the closure and repeat the installation.
Other Common Repairs
Bicycles are complicated machines that have many moving parts that can break or get worn down over time. Below are a couple more common repairs that can be fixed at home and potentially save you a trip to the bike shop.
Adjusting Brakes
Functioning and responsive brakes are key to a safe bike ride and they’ll require occasional repairs to ensure they’re in working order. The process of adjusting and tweaking your brakes differs depending on the kind of brakes you have, ranging from the several designs of rim brakes and mechanical or hydraulic disc brakes.
For a complete guide to adjusting bike brakes, check out our step-by-step article.
Tightening Brake Cables
If you notice that your brakes’ stopping power is very weak, it’s time to tighten them. You may realize you have to pull the brake lever very far almost touching the handlebar in order to stop. Depending on the severity of the problem, you can adjust the cable tension via the barrel adjusters on the brake lever or near the caliper. For a bigger adjustment, loosen the anchor bolt that attached the brake cable to the caliper and pull the cable through, bringing the brake pads closer to the rim.
For a more in-depth explanation, visit our tutorial on tightening bike brakes.
Tightening a Loose Seat Post
Seat posts are secured to the frame via a bolt attached to the seat post collar. Sometimes it’s a hex bolt and other times it’s a quick-release bolt with a large handle. Tighten the bolt firmly without overdoing it which can crack the frame or make it difficult to loosen the seat post later.
With quick-release systems, you’ll need to ensure the nut on the opposite side of the handle is sufficiently tight, or closing the handle will never apply enough tension. Continue adjusting the nut and closing the handle until you reach the appropriate tightness where the seat post is firmly secured in place without requiring too much effort to release.
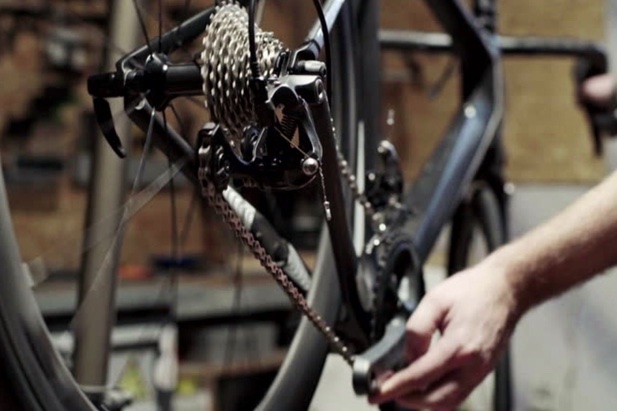
Aligning a Derailleur
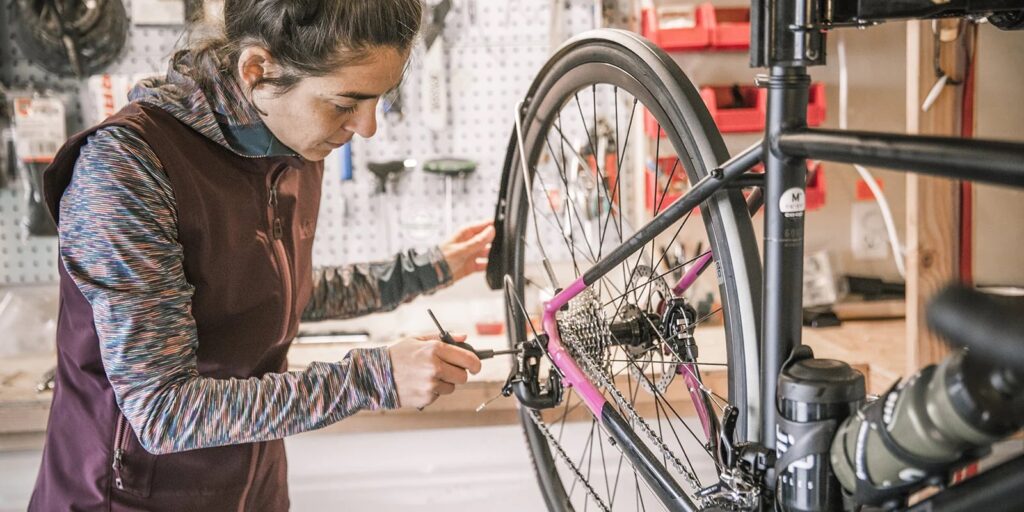
The front and rear derailleurs shift gears by moving the chain either closer to or farther away from the frame. If you frequently drop chains while shifting or cannot shift into certain gears, there may be a problem with the derailleur limit screws. These two screws limit the derailleur’s range of movement.
Shift into your bike’s highest gear (biggest chainring and smallest rear cog) and check that the top pulley of the rear derailleur sits directly underneath that smallest cog. You can even pull on the rear derailleur cage towards you while pedaling to make sure the limit screw is doing its job effectively. Loosen or tighten the high-limit screw accordingly.
To check the low-limit screw, pull the shift cable as tight as possible while pedaling, moving the chain towards the wheel. If the chain falls between the cassette and the spokes, the limit screw is not turned in far enough. If the chain doesn’t reach the last gear, the limit screw needs to be loosened slightly.
Frequently Asked Questions
Absolutely. Many of the most common repairs can be completed at home with just a couple of standard tools. Referencing how-to guides such as this one or YouTube videos can help you service your bike yourself, saving precious time and money.
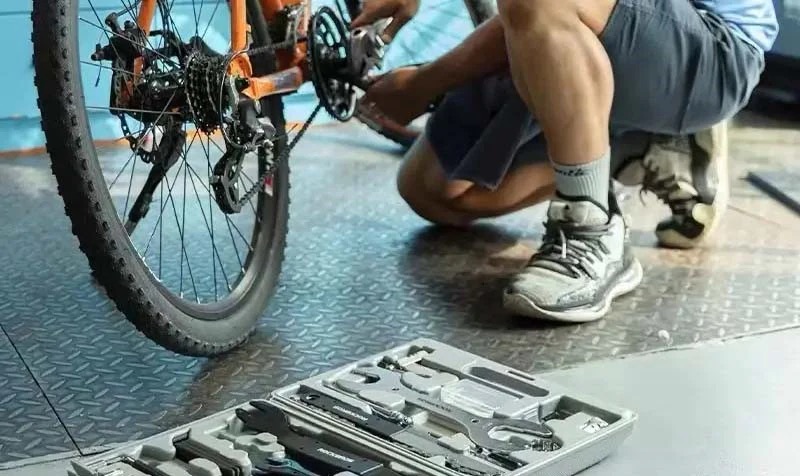
A majority of bike repairs can be carried out with just a handful of common tools. The most important tools are Allen/hex wrenches (3-8mm), a screwdriver, tire levers, open-end wrenches (8-17mm), a chain brush, and a few spare rags.
With so many great online resources out there, you can become a self-taught mechanic. Some local bike shops offer bike mechanic classes and there are other paid programs where you can earn a professional certificate upon completion.
Servicing a bike can save you time and money, but the more serious repairs are best left to the professionals. Consider if you have the appropriate tools and know-how for the job and explore tutorials online if you need assistance. That said, don’t hesitate to bring it into your local shop and get their expert opinion.
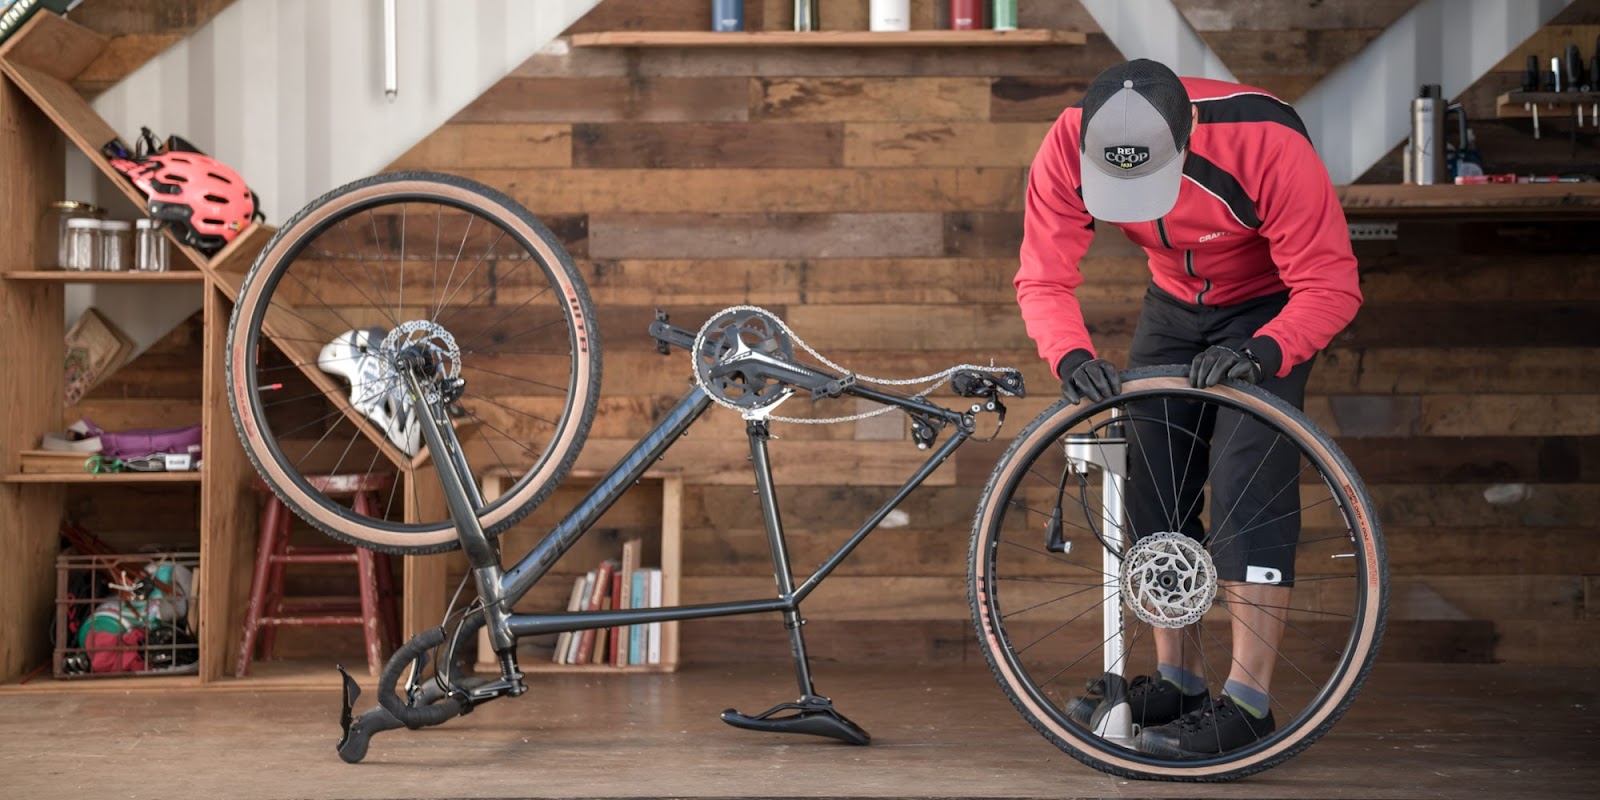
Functional alternatives to a bike repair stand include hanging the bike by the saddle the front tip of the seat can hook onto a horizontal bar to elevate the bike for quick repairs. Flipping the bike over can work in a pinch but can crush cables on the handlebars. Another trick is installing an old seat post into a vice and attaching the bike frame to that alternate seat post which is secured in place.

Jeffrey Brown is a writer, editor, and professional bike mechanic with over 7 years of experience working in full-service and community-based bike shops. As a bicycle educator, he has supported youth programs across the US that teach bike mechanics and life skills to prepare the next generation of cyclists.
Jeffrey began his professional mechanic career at his university bike co-op, so he recognizes the grassroots power of the cycling community. Initially self-trained as a mechanic, his subsequent positions as manager and lead educator gave him official training. He has won various awards and grants for his role as a bicycle and environmental advocate.